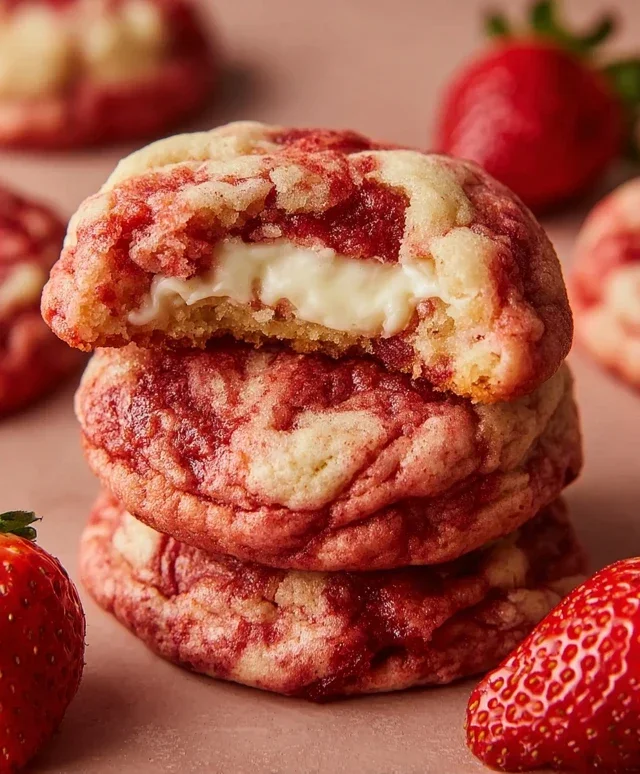
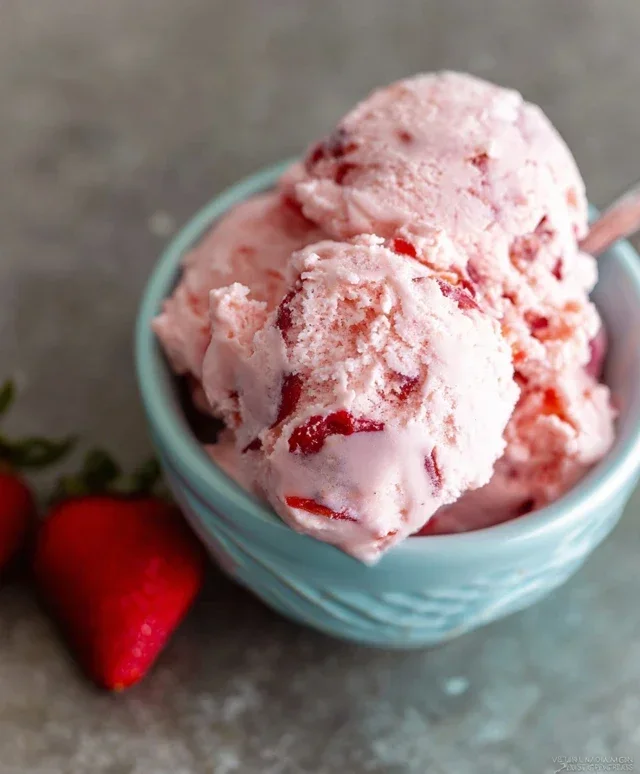
Easy Homemade Strawberry Ice Cream Recipe
Homemade strawberry ice cream is a timeless classic for a reason. There’s something incredibly pure and satisfying about that burst of fresh, sweet strawberry flavor, perfectly complemented by a creamy, dreamy base. We all have those childhood memories, right? Those sun-drenched afternoons spent devouring a cone of bright pink goodness, the scent of summer practically melting into the spoon. But as adults, we often settle for store-bought versions, which, while convenient, can’t quite capture the vibrant essence of real fruit. What makes this homemade strawberry ice cream so special is its simplicity and the incredible intensity of flavor you achieve by using the freshest, ripest strawberries you can find. It’s a delightful journey from farm to freezer, and I can’t wait to share how you can bring this delightful taste of summer into your own kitchen. Get ready for the best homemade strawberry ice cream you’ve ever tasted!
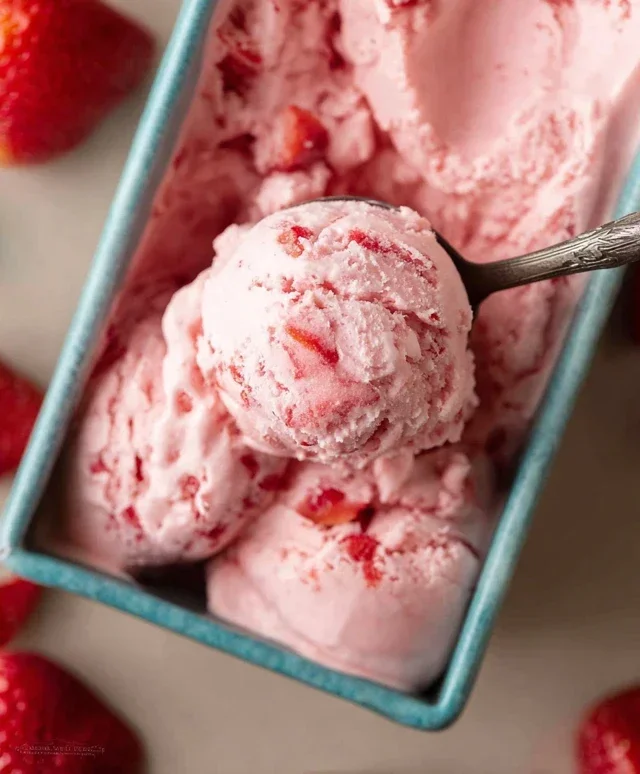
Homemade Strawberry Ice Cream
There’s something incredibly satisfying about making your own ice cream, and when it comes to summer flavors, homemade strawberry ice cream reigns supreme. Forget those artificial tasting, freezer-burnt imposters. This recipe is all about capturing the pure, vibrant essence of fresh strawberries, transforming them into a creamy, dreamy dessert that will have everyone asking for seconds. It’s surprisingly simple, requiring no special ice cream maker (though one can be used if you have it!), and the results are simply spectacular. The bright sweetness of the strawberries, balanced by a hint of lemon and the richness of cream, creates a flavor profile that is both refreshing and decadent. This is the perfect treat for a warm afternoon, a backyard barbecue, or whenever that craving for something sweet and summery strikes.
Ingredients:
Crafting Your Creamy Base
The journey to perfect strawberry ice cream begin extracts with preparing our star ingredient: the strawberries. We want to extract as much of their natural flavor as possible. Start by ensuring your strawberries are fresh, ripe, and fragrant. Hulled and diced, they’ll be easier to process. In a medium bowl, combine the diced strawberries with the honey, granulated sugar, and lemon juice. The honey adds a lovely floral sweetness, while the sugar provides structure and that classic ice cream sweetness. The lemon juice is a secret weapon here – it doesn’t make the ice cream taste lemony, but rather it brightens the strawberry flavor, making it sing.
Now, the magic happens. We’re going to let these ingredients mingle and macerate. Gently stir everything together, ensuring the sugar is coating the strawberries. Cover the bowl and let it sit at room temperature for about 30 minutes. This process, called maceration, allows the sugar to draw out the juices from the strawberries, creating a luscious, syrupy mixture. You’ll notice the strawberries softening and releasing their vibrant red juices. This is the concentrated essence of strawberry flavor we’re aiming for. After 30 minutes, give it another gentle stir.
Whipping Up the Dreamy Texture
While the strawberries are doing their thing, it’s time to prepare the creamy base that will envelop them. In a separate, clean bowl, pour in the cold heavy whipping cream and the half and half. These are the foundations of our rich, smooth ice cream. Add the vanilla extract – this classic flavor enhancer complements the strawberries beautifully without overpowering them.
Now, for the fun part: whipping. Using an electric mixer (a hand mixer or a stand mixer with the whisk attachment), begin extract whipping the cream mixture on medium speed. You’re aiming for soft peaks initially. This means when you lift the whisk, the cream will hold its shape but the tips will curl over. Don’t over-whip at this stage; we’re not making whipped cream just yet. We want a luscious, slightly thickened base.
Assembling and Freezing
Once your strawberries have macerated and your cream has reached soft peaks, it’s time to bring them together. Gently fold the macerated strawberry mixture into the whipped cream base. Be delicate here. You don’t want to deflate all the air you’ve whipped into the cream. The goal is to create beautiful swirls of strawberry goodness within the creamy canvas. Some streaks of strawberry are perfectly fine and even desirable – they add visual appeal and pockets of intense flavor. A light folding motion, using a spatula, is key. Imagin extracte gently turning the mixture over itself until just combined.
Now comes the crucial freezing step. If you have an ice cream maker, follow the manufacturer’s instructions for churning. This will typically involve pouring the mixture into the frozen bowl and letting it churn until it reaches a soft-serve consistency. If you don’t have an ice cream maker, fear not! We can achieve a wonderfully creamy result with a little patience. Pour the mixture into a freezer-safe container. A shallow, wide container will freeze more evenly and quickly. Cover it tightly with a lid or plastic wrap.
The No-Churn Method Explained
For those of us going the no-churn route, the process involves periodic stirring to break up ice crystals and ensure a smooth texture. Place the container in the freezer. After about 45 minutes to an hour, take it out and stir the mixture vigorously with a fork or whisk, breaking up any frozen edges and incorporating them into the center. Return it to the freezer. Repeat this stirring process every 30-45 minutes for at least 3-4 hours, or until the ice cream is firm enough to scoop. This constant agitation is what prevents large ice crystals from forming, mimicking the action of an ice cream maker.
The final transformation happens when the ice cream is almost fully frozen. At this point, the texture should be quite firm. For the absolute best, most scoopable texture, transfer the ice cream to an airtight container and let it “ripen” in the freezer for at least another 2-4 hours. This allows the flavors to meld and the ice cream to firm up to the perfect consistency for scooping. Serve your homemade strawberry ice cream in chilled bowls and enjoy the taste of pure summer!
Conclusion:
And there you have it – your very own batch of delicious, creamy, homemade strawberry ice cream! I truly believe this recipe is fantastic because it allows you to control the ingredients, ensuring a vibrant strawberry flavor without artificial additives, and the resulting texture is simply divine. It’s so rewarding to create something so special right in your own kitchen.
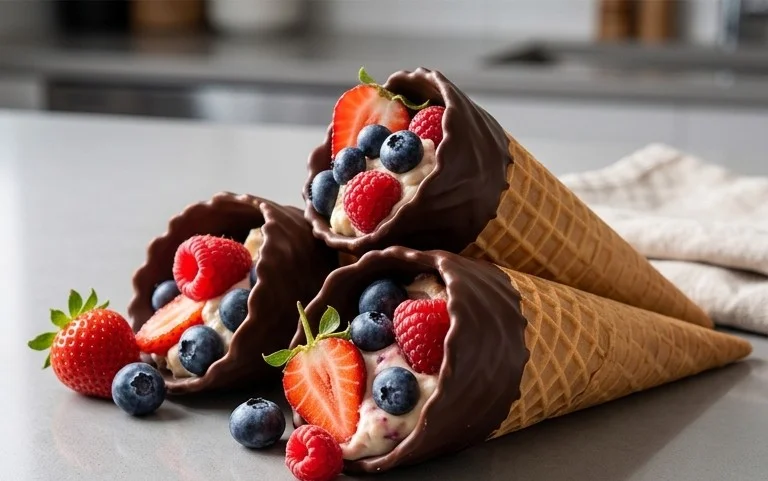
This delightful homemade strawberry ice cream is perfect served on its own, but it also makes a wonderful base for all sorts of toppings. Consider a drizzle of rich chocolate sauce, a scattering of fresh berries, a dollop of whipped cream, or even a sprinkle of toasted almonds for added crunch. For variations, feel free to experiment! You could add a splash of balsamic glaze for a gourmet twist, or swirl in some mini chocolate chips for extra indulgence. Don’t be afraid to adjust the sugar to your personal preference. I wholeheartedly encourage you to give this recipe a try – you won’t regret the incredible taste and satisfaction of homemade goodness!
Frequently Asked Questions:
Why is my homemade strawberry ice cream not creamy enough?
Lack of creaminess can often be due to not enough fat or a too-high water content from the strawberries. Ensure you’re using full-fat dairy (heavy cream and whole milk). If your strawberries are very watery, you might want to cook them down slightly to reduce moisture before pureeing.
Can I make this recipe without an ice cream maker?
Absolutely! While an ice cream maker churns for optimal creaminess, you can achieve a lovely result by freezing the mixture in a shallow container and stirring vigorously every 30-45 minutes for the first 3-4 hours of freezing. This breaks up ice crystals.
Homemade Strawberry Ice Cream
A simple and delicious homemade strawberry ice cream recipe, perfect for a summer treat.
Ingredients
-
1 1/2 cups strawberries, hulled and diced
-
2 Tbsp honey
-
1/2 cup granulated sugar
-
1 tsp lemon juice
-
1 cup heavy whipping cream
-
1/2 cup half and half
-
1 tsp vanilla extract
Instructions
-
Step 1
In a bowl, combine the diced strawberries, honey, granulated sugar, and lemon juice. Let sit for about 15-20 minutes to allow the strawberries to macerate. -
Step 2
Puree the strawberry mixture using an immersion blender or a regular blender until smooth. You can strain it for a smoother texture, but it’s optional. -
Step 3
In a separate bowl, whisk together the heavy whipping cream, half and half, and vanilla extract until well combined. -
Step 4
Gently fold the strawberry puree into the cream mixture until just combined. Do not overmix. -
Step 5
Pour the mixture into an ice cream maker and churn according to the manufacturer’s instructions until it reaches a soft-serve consistency. -
Step 6
Transfer the ice cream to an airtight container and freeze for at least 2-4 hours to allow it to firm up completely.
Important Information
Nutrition Facts (Per Serving)
It is important to consider this information as approximate and not to use it as definitive health advice.
Allergy Information
Please check ingredients for potential allergens and consult a health professional if in doubt.