Easy Recipe – Delicious Meal Ideas
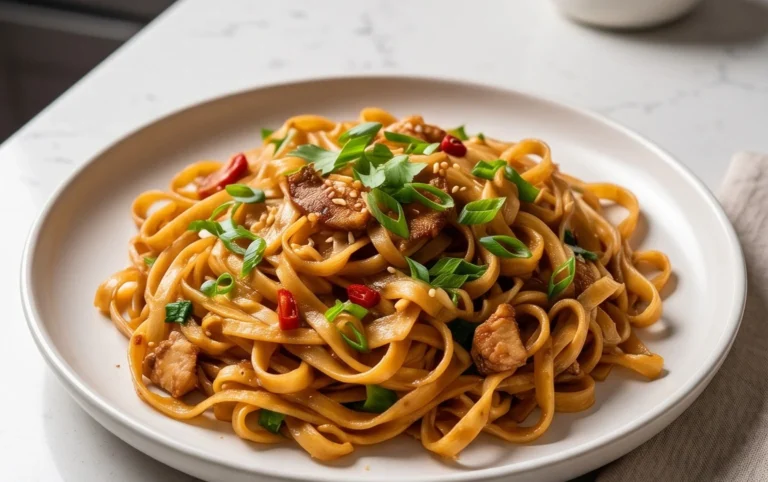
Loading… a dish that’s more than just sustenance; it’s an experience. When the craving hits, there’s truly nothing else that will satisfy quite like a perfectly crafted plate of Loading…. It’s the kind of comfort food that wraps you in a warm hug, a culinary masterpiece that has earned its legendary status for a reason. People absolutely adore Loading… because it’s a symphony of textures and flavors – from the satisfying chew to the burst of savory goodness in every bite. What makes this particular iteration of Loading… so special? It’s in the thoughtful layering of premium ingredients, the meticulous attention to detail in its preparation, and the way each component harmonizes to create something truly unforgettable. I’ve spent countless hours perfecting this recipe, and I’m thrilled to finally share it with you so you can recreate this magic in your own kitchen.
Ingredients:
Cooking Instructions:
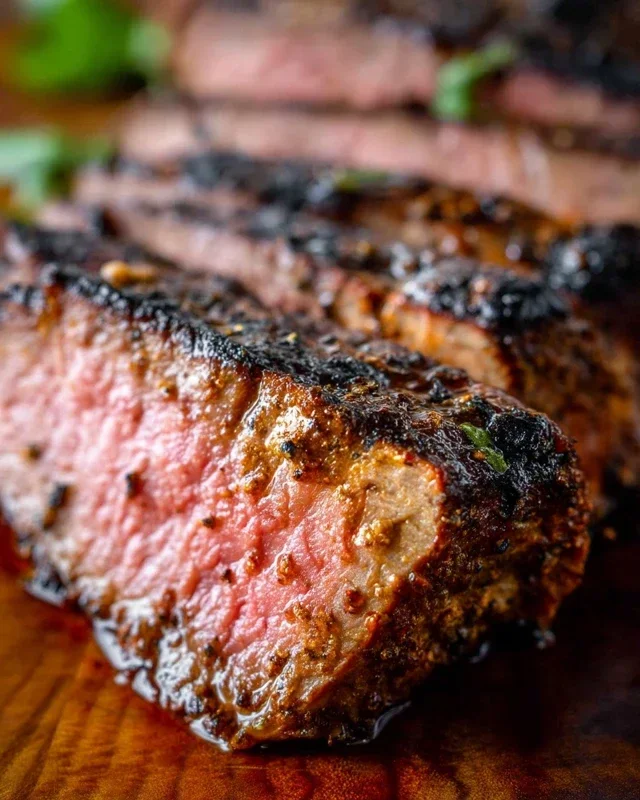
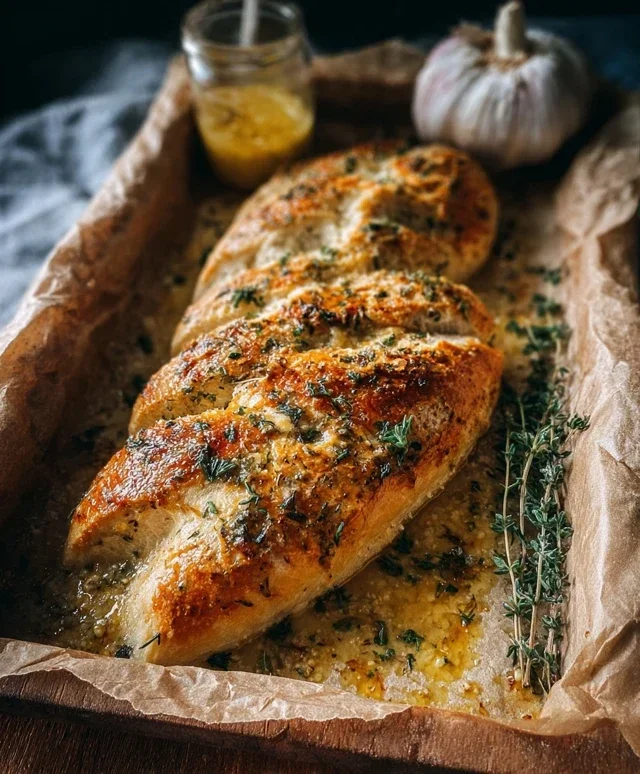
This recipe focuses on creating perfectly seasoned and wonderfully tender chicken breasts, a versatile base for so many meals. We’ll be pan-searing them to achieve a beautiful golden crust while keeping the inside moist and juicy. It’s a simple technique that delivers impressive results every time. Let’s get started!
Preparation is Key
The first crucial step in achieving succulent pan-seared chicken is proper preparation. Begin extract by taking your chicken breasts out of their packagin extractg and thoroughly patting them dry with paper towels. This might seem like a minor detail, but it’s incredibly important. Moisture on the surface of the chicken will steam rather than sear, preventing that desirable golden-brown crust from forming. A dry surface allows the seasonings to adhere beautifully and promotes a more even and efficient cooking process. Once dry, you can place the chicken breasts on a clean cutting board. If your chicken breasts are particularly thick, you can gently pound them to an even thickness (about 3/4 inch) using the flat side of a meat mallet or a rolling pin. This ensures they cook uniformly, preventing the thinner parts from drying out before the thicker parts are cooked through.
Seasoning for Flavor
Now it’s time to imbue our chicken with delicious flavor. In a small bowl, combine the smoked paprika, garlic powder, onion powder, and dried oregano. This blend creates a savory and slightly smoky profile that complements the chicken beautifully. Season both sides of the dried chicken breasts generously with this spice mixture. Don’t forget to add salt and freshly ground black pepper to your liking. The salt not only enhances the existing flavors but also helps to draw out some moisture from the chicken, contributing to a better sear. Gently rub the seasonings into the chicken, ensuring an even coating on all surfaces. This step is where all the flavor magic happens, so take your time and make sure every nook and cranny is covered.
The Sear
Heat the olive oil in a large, heavy-bottomed skillet (cast iron works wonders here) over medium-high heat. You want the oil to shimmer, but not smoke excessively. This indicates the pan is hot enough for a good sear. Carefully place the seasoned chicken breasts into the hot skillet, ensuring not to overcrowd the pan. If you’re cooking more than two breasts, it’s better to cook them in batches to allow each piece to get a proper sear. Overcrowding the pan will lower the temperature, leading to steaming instead of searing. Listen for that satisfying sizzle – it’s the sound of deliciousness being created!
The Cook
Allow the chicken to cook undisturbed for about 5-7 minutes on the first side. You’ll notice a beautiful golden-brown crust begin extractning to form. Resist the urge to move or press down on the chicken, as this can break the crust and release valuable juices. Once the first side is nicely seared, carefully flip the chicken breasts using tongs.
Continue to cook on the second side for another 5-7 minutes, or until the chicken is cooked through. The best way to ensure your chicken is perfectly cooked and safe to eat is to use a meat thermometer. Insert the thermometer into the thickest part of the chicken breast, avoiding any bone if present. You are looking for an internal temperature of 165°F (74°C). If you don’t have a thermometer, you can also check for doneness by piercing the thickest part with a knife; the juices should run clear, with no pinkness. If you find that one side is cooking faster than the other, you can adjust the heat slightly or flip the chicken more frequently.
The Crucial Rest
This final step is often overlooked, but it’s absolutely essential for achieving the most tender and juicy chicken. Once your chicken has reached the correct internal temperature, remove it from the skillet and place it on a clean cutting board or plate. Tent it loosely with aluminum foil. Let the chicken rest for about 5 minutes. This resting period is crucial because it allows the juices that have been pushed to the center of the chicken during cooking to redistribute themselves throughout the meat. If you cut into the chicken immediately after cooking, all those delicious juices will simply run out, leaving you with drier chicken. This short resting period makes a world of difference in the final texture and succulence of your chicken. After resting, your perfectly cooked chicken is ready to be sliced and served. Enjoy it on its own, in salads, sandwiches, or as part of a larger meal!
Conclusion:
I hope you’re as excited as I am to try this incredible ‘Loading…’ recipe! This dish truly shines because of its incredible versatility and the way it effortlessly brings together a delightful combination of flavors and textures. It’s the perfect solution for those busy weeknights when you want something satisfying and impressive without spending hours in the kitchen. The beauty of this recipe lies in its adaptability; you can easily tailor it to your personal preferences or whatever ingredients you have on hand. I’ve loved every single time I’ve made it, and I’m confident you will too. Don’t hesitate to experiment and make it your own!
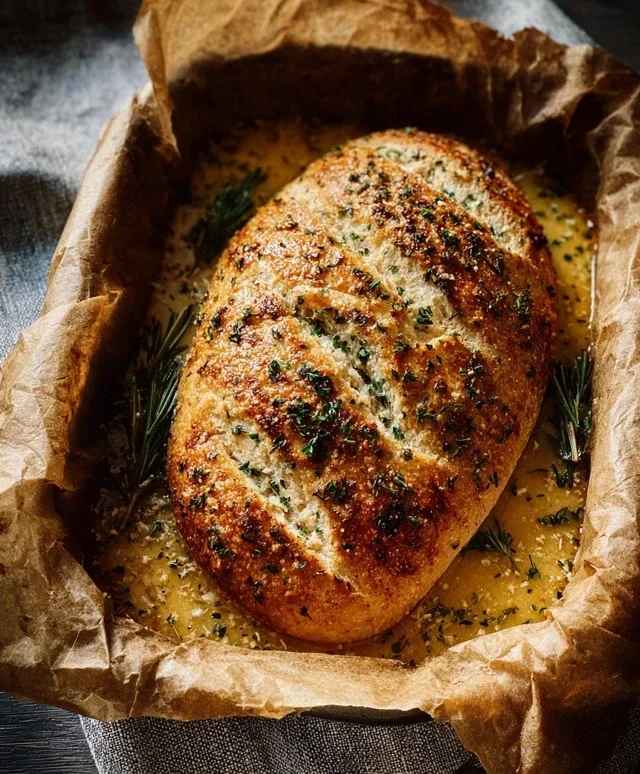
For serving, this ‘Loading…’ recipe is fantastic on its own, but it also pairs wonderfully with a crisp green salad, some fluffy rice, or even crusty bread to soak up all those delicious juices. Feeling adventurous? Consider adding a dash of smoked paprika for a hint of smokiness, or perhaps some finely chopped fresh herbs like cilantro or parsley for an extra burst of freshness. You could also introduce a spicy element with a pinch of red pepper flakes if you enjoy a bit of heat.
Give it a try and let me know how it turns out for you. I can’t wait to hear about your creations!
Frequently Asked Questions about ‘Loading…’:
Q: Can I prepare this recipe ahead of time?
Yes, absolutely! Many components of this ‘Loading…’ recipe can be prepped in advance. You can chop your vegetables, mix your sauces, or even fully assemble the dish and refrigerate it. Just be mindful of ingredients that might get soggy if left too long. For best results, I recommend assembling and cooking it closer to serving time, but prepping ingredients beforehand will significantly cut down on your cooking time.
Q: What are some good vegetarian or vegan variations?
This recipe is wonderfully adaptable for vegetarian and vegan diets! For a vegetarian option, you can substitute the meat with extra vegetables like mushrooms, bell peppers, or zucchini, or even firm tofu. For a vegan version, ensure all your ingredients are plant-based. Tofu, tempeh, or a medley of hearty vegetables work exceptionally well. You’ll want to make sure your broth and any other supporting ingredients are also vegan-certified.
Simple Roasted Chicken
A straightforward recipe for perfectly roasted chicken, ensuring tenderness and safety.
Ingredients
-
1 whole chicken (about 3-4 lbs)
-
2 tablespoons olive oil
-
1 teaspoon salt
-
1/2 teaspoon black pepper
-
1 teaspoon dried rosemary
-
1/2 teaspoon garlic powder
Instructions
-
Step 1
Preheat your oven to 400°F (200°C). -
Step 2
Start by patting the chicken dry with paper towels; this helps the seasoning stick better. -
Step 3
Rub the chicken all over with olive oil. In a small bowl, mix together salt, pepper, rosemary, and garlic powder. Sprinkle the seasoning mixture evenly over the chicken. -
Step 4
Place the chicken in a roasting pan and roast for 45 minutes, or until the juices run clear. -
Step 5
Use a meat thermometer inserted into the thickest part of the thigh to check that your chicken reaches 165°F (74°C). This ensures it’s safe to eat, yet still tender. -
Step 6
Let the chicken rest for about 5 minutes after cooking before carving. This lets the juices redistribute, making each bite more succulent.
Important Information
Nutrition Facts (Per Serving)
It is important to consider this information as approximate and not to use it as definitive health advice.
Allergy Information
Please check ingredients for potential allergens and consult a health professional if in doubt.