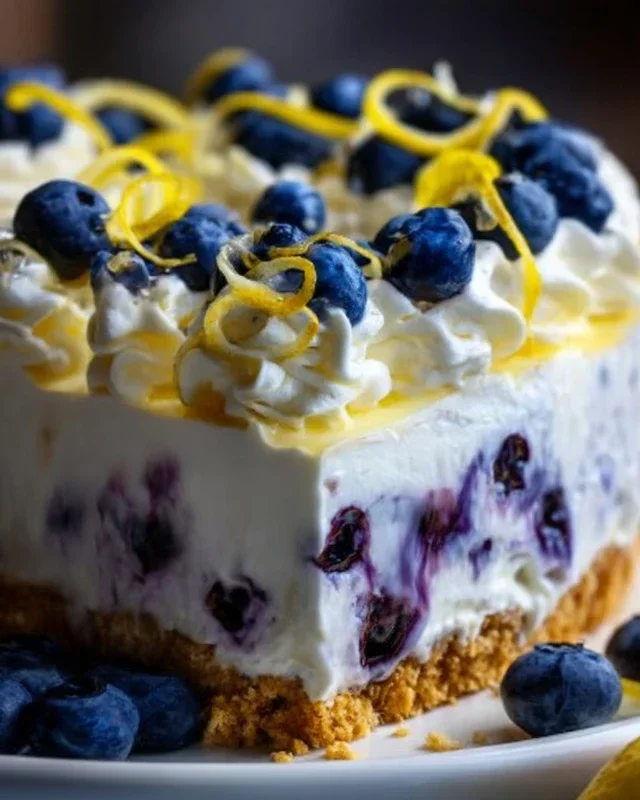
Lemon Blueberry Truffles – Easy No-Bake Treat
Lemon Blueberry Truffles are a little bite of sunshine, a burst of pure delight that I absolutely adore. Imagin extracte this: the bright, zesty tang of fresh lemon dancing with the sweet, juicy pop of plump blueberries, all enrobed in a smooth, decadent chocolate coating. It’s a flavor combination that simply sings, a perfect balance of tart and sweet that feels both sophisticated and incredibly comforting. These Lemon Blueberry Truffles aren’t just a dessert; they’re a mood booster, a tiny indulgence that can brighten any day. They’re the ideal treat to share with loved ones, or to keep all to yourself for a moment of pure, unadulterated bliss. What makes them truly special is how surprisingly simple they are to make, proving that gourmet-level deliciousness doesn’t have to be complicated.
Why You’ll Fall in Love with These Lemon Blueberry Truffles
A Symphony of Flavors in Every Bite
Lemon Blueberry Bliss: Easy No-Bake Truffles
Get ready to tantalize your taste buds with these vibrant, zesty, and wonderfully chewy Lemon Blueberry Truffles. These little bursts of sunshine are not only incredibly delicious but also surprisingly good for you, packed with wholesome ingredients and bursting with natural sweetness. The best part? They require absolutely no baking, making them a perfect treat for a quick dessert fix or an impressive addition to any gathering. I love how the tartness of the lemon perfectly complements the sweet, earthy notes of the blueberries, while the creamy frosting ties it all together in a delightful bite.
Ingredients:
Crafting the Vibrant Center
The foundation of these delightful truffles lies in creating a deeply flavorful and satisfying raw cake-like mixture. This is where the magic of whole foods truly shines.
Prepare the Base Ingredients: Before we begin extract blending, ensure all your base ingredients are ready to go. If your dates are a bit dry and hard, I highly recommend soaking them in warm water for about 10 minutes. This will soften them considerably, making them much easier to process and ensuring a smoother texture in your truffles. Drain them thoroughly before adding them to your food processor. Measure out your wild blueberries – fresh or frozen will work, but if using frozen, allow them to thaw slightly.
Process the Dry Ingredients: In a food processor, combine the walnuts, gluten-free rolled oats, shredded coconut, and chia seeds. Pulse these ingredients a few times until they are roughly chopped and starting to break down. You don’t want a fine powder, but rather a texture that’s a bit like coarse breadcrum extractbs. This process helps release some of the natural oils from the nuts and oats, contributing to the overall texture and flavor.
Incorporate the Dates and Blueberries: Add the pitted and drained dates and the wild blueberries to the food processor with the nut and oat mixture. Now, it’s time to add the zestiness! Squeeze in the juice of one fresh lemon. Begin extract processing continuously. The mixture will start to come together, forming a sticky dough. You might need to scrape down the sides of the food processor a couple of times to ensure everything is evenly incorporated. Continue processing until the mixture holds together when you press it between your fingers. If it feels too dry and crum extractbly, you can add a teaspoon of water at a time, but be cautious not to make it too wet.
Form the Truffles: Once the mixture has reached a workable consistency, it’s time to get your hands a little messy and roll it into balls. Scoop out about a tablespoon of the mixture at a time and roll it between your palms to form small, bite-sized spheres. Aim for them to be roughly the same size so they cook (or rather, set) evenly. Place the formed truffles onto a parchment-lined baking sheet or a plate. If you find the mixture sticking to your hands, you can slightly dampen your hands with water. This step is quite therapeutic, and it’s fun to see the little vibrant spheres taking shape.
Whipping Up the Luscious Lemon Frosting
Now that our truffle centers are ready, we’ll create a creamy, dreamy frosting that elevates these treats to a whole new level of deliciousness.
Prepare the Cashew Base: For the frosting, begin extract with your soaked cashews. Drain them very well after soaking. The soaking process softens them, making them incredibly smooth and creamy when blended. Add the drained cashews to a high-speed blender or a powerful food processor.
Blend the Frosting Ingredients: To the cashews, add the melted and slightly cooled coconut oil, raw honey, vanilla extract, and the juice of the second lemon. Begin extract blending. This is where you’ll need to be patient and scrape down the sides of the blender or processor as needed. The goal is a completely smooth and creamy consistency, much like thick frosting. If the mixture is too thick and struggling to blend, add the warm water, one tablespoon at a time, until you achieve your desired texture. Be careful not to add too much water, as you don’t want a runny frosting. The lemon juice will add a wonderful brightness, and the honey provides a natural sweetness that balances the tang.
Coat the Truffles: Once your frosting is perfectly smooth and luscious, it’s time to coat your pre-formed truffles. You can do this in a couple of ways. You can carefully dip each truffle into the frosting, using a fork to lift it out and allow excess to drip off. Alternatively, you can place the truffles in a bowl and gently fold the frosting over them until they are evenly coated. Ensure each truffle is well covered.
Chill and Set: After coating, return the truffles to your parchment-lined baking sheet or plate. Place them in the freezer for about 15-20 minutes, or in the refrigerator for at least 30-45 minutes. This chilling time is crucial for the frosting to firm up and set properly, giving the truffles their final shape and a delightful texture.
Serve and Enjoy: Once set, your Lemon Blueberry Truffles are ready to be devoured! I like to serve them chilled. They are best stored in an airtight container in the refrigerator, where they’ll keep for up to a week. These make a fantastic healthy dessert, a lovely afternoon pick-me-up, or a thoughtful homemade gift. The bright flavors and satisfying texture are sure to impress!
Conclusion:
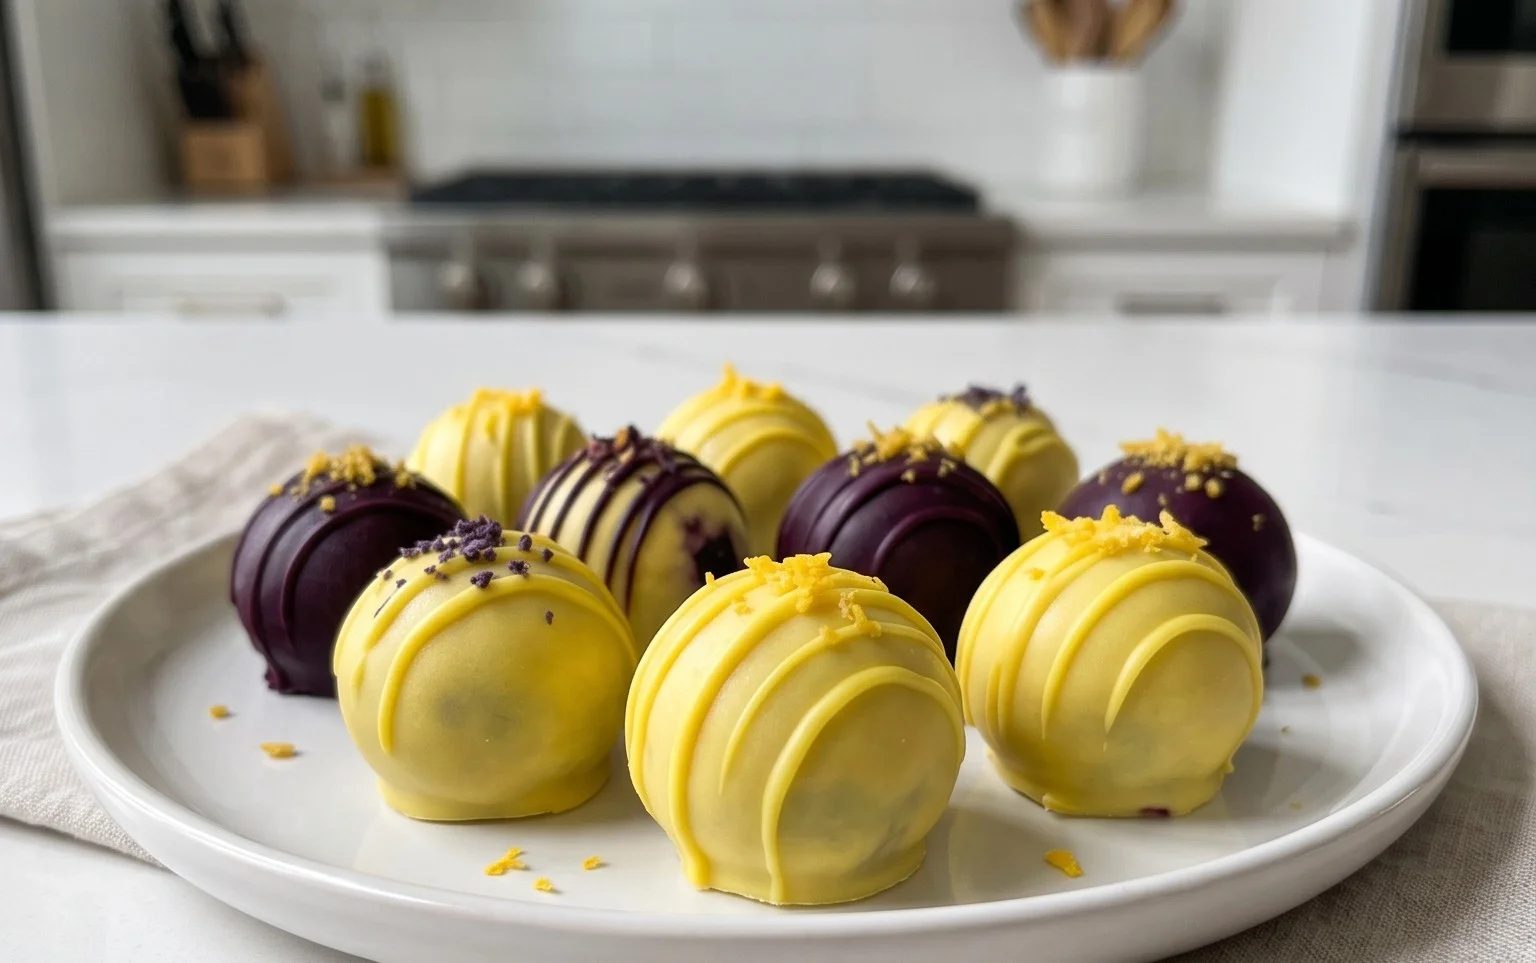
I hope you’ve enjoyed learning how to make these delightful Lemon Blueberry Truffles! This recipe truly shines because of its harmonious blend of bright, zesty lemon and sweet, bursting blueberries, all enrobed in a rich, creamy chocolate shell. They are surprisingly simple to prepare, making them a fantastic treat for both novice and experienced bakers alike. Whether you’re looking for an elegant dessert for a special occasion, a thoughtful homemade gift, or just a little pick-me-up, these truffles are sure to impress. The vibrant flavors and beautiful presentation make them a real showstopper.
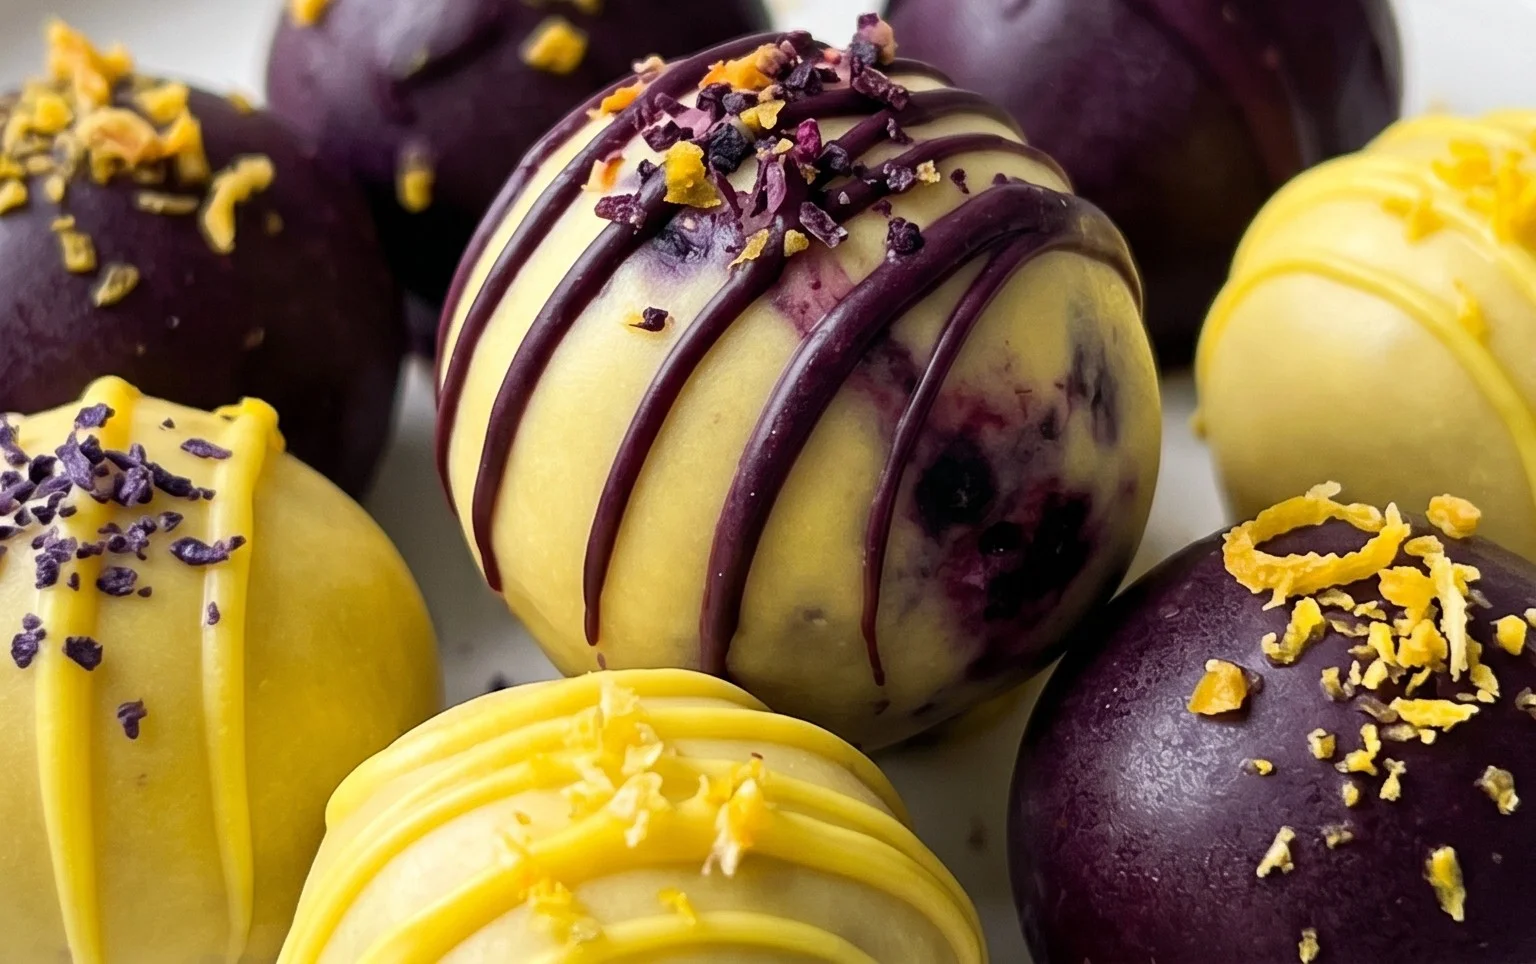
For serving, I love to arrange them on a pretty platter, perhaps with a scattering of fresh blueberries and lemon zest for garnish. They are also wonderful presented in small candy cups. Consider pairing them with a cup of tea or a glass of sparkling grape juice for an extra touch of luxury.
Don’t be afraid to experiment with variations! You could try white chocolate for a lighter flavor profile, or even add a hint of lavender for a floral twist. Incorporating finely chopped toasted almonds into the truffle mixture before rolling can add a lovely crunch. The possibilities are endless!
So, go ahead and give these Lemon Blueberry Truffles a try. I’m confident you’ll fall in love with their irresistible flavor and charming appeal. Happy baking!
Frequently Asked Questions:
Can I make these Lemon Blueberry Truffles ahead of time?
Absolutely! These truffles are perfect for making in advance. Once fully set, you can store them in an airtight container in the refrigerator for up to a week. They might need a few minutes at room temperature before serving to soften slightly.
What kind of chocolate is best for the coating?
For the best results, I recommend using good quality chocolate chips or a finely chopped chocolate bar. Semi-sweet or dark chocolate provides a lovely contrast to the bright lemon and blueberry filling. Milk chocolate can also be used if you prefer a sweeter truffle.
Can I use fresh blueberries instead of frozen?
While frozen blueberries are often easier to work with as they don’t release as much liquid, you can certainly use fresh ones. If using fresh, gently fold them into the mixture towards the end of the process, being careful not to overmix, and perhaps pat them dry beforehand.
Lemon Blueberry Truffles
Delightful no-bake vegan truffles bursting with the vibrant flavors of lemon and blueberry, made with wholesome raw ingredients.
Ingredients
-
1 cup wild blueberries
-
1 cup walnuts
-
1 cup dates
-
3 tbsp gluten-free rolled oats
-
2 tbsp shredded coconut
-
1 tbsp chia seeds
-
1 lemon, juiced
-
1 cup cashews (soaked for about 30 minutes)
-
½ cup coconut oil, melted and cooled
-
3 tbsp raw honey
-
1 tsp vanilla extract
-
2-3 tbsp warm water (as needed to help blend)
Instructions
-
Step 1
In a food processor, combine wild blueberries, walnuts, dates, gluten-free rolled oats, shredded coconut, and chia seeds. Pulse until a crumbly mixture forms. -
Step 2
Add the juice of 1 lemon to the mixture and process until it starts to come together. If too dry, add a tiny bit more lemon juice. -
Step 3
Roll the mixture into small balls (about 1-inch in diameter). Place on a parchment-lined plate and freeze for at least 30 minutes. -
Step 4
While the truffles freeze, prepare the frosting. In a high-speed blender, combine the soaked cashews, melted and cooled coconut oil, raw honey, vanilla extract, and the juice of 1 lemon. -
Step 5
Blend until completely smooth and creamy, adding warm water 1 tablespoon at a time as needed to reach desired consistency. The frosting should be thick but pourable. -
Step 6
Dip each frozen truffle into the lemon cashew frosting, ensuring it’s fully coated. Return to the parchment-lined plate. -
Step 7
Freeze the coated truffles for at least another 30 minutes, or until the frosting has set. Store in the refrigerator or freezer.
Important Information
Nutrition Facts (Per Serving)
It is important to consider this information as approximate and not to use it as definitive health advice.
Allergy Information
Please check ingredients for potential allergens and consult a health professional if in doubt.